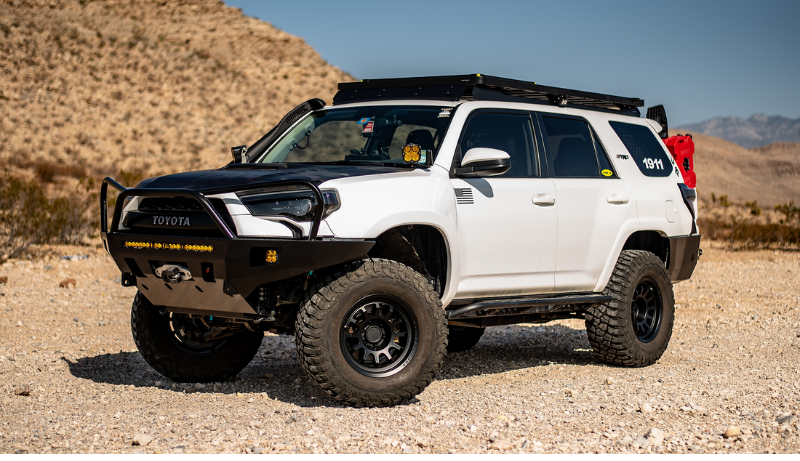
It is without a doubt that off-road lights significantly enhance night driving safety by improving peripheral vision and providing effective forward movement.
The addition of off-road lights to any vehicle brings substantial value, as it ensures exceptional visibility and overall illumination during driving. These lights are specifically designed for use on vehicles and are not allowed for use elsewhere, such as on streets or roads.
Fear not! We’ve got you covered with our ultimate guide to wiring multiple off-road lights to one switch, making it a more convenient option. Let’s delve into the details!
Benefits of Off-Road Lights
Before delving into our wiring guide, let’s consider the expected benefits of using off-road lights.
Off-road lights are equipped with LED technology, providing a longer lifespan compared to traditional lights. They can last for more than 30,000 hours, offering a significant advantage over halogen lights, which typically last around 1,000 hours.
Moreover, off-road lights are highly reliable, as they won’t suddenly stop working due to insufficient warming like traditional bulbs.
Safety is a top priority with off-road lights, ensuring visibility even during off-road driving.
Off-road lights are energy-efficient, ensuring that they don’t drain the vehicle’s batteries quickly. This is especially advantageous when driving in remote areas where service stations are far away.
The LED technology in off-road lights generates minimal heat, making them ideal for harsh weather conditions with heavy storms and dust in the air.
Additionally, off-road lights are environmentally friendly and easily recyclable, making them a safer and greener choice.
How To Wire Multiple Off-Road Lights To One Switch? Step-by-Step Guide
If you desire to wire multiple off-road lights to a single switch, it requires a series of steps to complete the process. Hiring a professional for installation can be costly, so why not install them yourself? Let’s go through the steps to make it accessible.
Step 1
Find an appropriate place on your car’s dashboard to mount the switch. This switch will activate the off-road lights when the car’s high beams are turned on. Some vehicles may have a pop-out style switch mount, but you may need to drill a hole in your dashboard.
Step 2
Mount a relay near the battery in the engine. Avoid areas prone to engine hot spots or excessive exhaust. Use preexisting holes or drill a new one to place the relay securely.
Step 3
Run a ground wire to the earthing point, ensuring a proper connection by removing any grit or paint.
Step 4
Run wires from the dashboard switch from one terminal through the firewall to the vehicle’s headlamp.
Step 5
Run high-end colored wires through the firewall reliably out of the relay. Connect these wires securely to the other terminal on the dashboard switch.
Step 6
Run a wire from the relay to each off-road light. Each light must have a ground wire securely connected to the chassis.
Step 7
Run the battery wires from the relay to the whole battery, with the switch in between.
Step 8
Test the lights. Check if the driving lights work appropriately on high beams and test the switch’s overall operation for functionality.
Step 9
Adjust the beams at night for maximum visibility. Tighten the bolts once the lights are properly positioned.
Final Word
Off-road driving demands efficient lighting as a necessity, not just an accessory. Wiring multiple off-road lights to one switch has made the process more regular and convenient for users, avoiding the daunting task of wiring various lights individually.
Effective off-road lights are essential to avoid accidents and ensure clear visibility on the road. Whether you drive a jeep, truck, or ATV, off-road lights are necessary for reliable nighttime driving.
After going through this guide, you should now know the steps required to wire multiple off-road lights to a single switch, providing you with an accessible experience. Thank you for reading!


Leave a Reply